Make your own headband game for any subject!
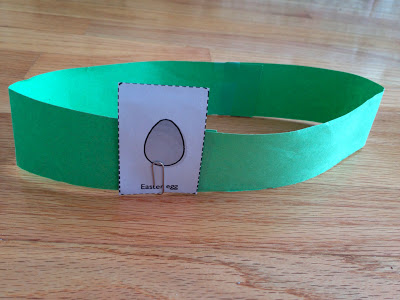
I made the headbands out of construction paper and printed images and attached the pictures using a paper clip. To make a version that will last longer, follow the directions below:
Materials: Construction paper, tape or glue, scissors, velcro, a laminator, printed pictures
1. For this activity, I used pictures taken from the BBC worksheet page for Religious Education, but other pictures can be used to play this game in any subject!
2. Print pictures from a template such as the one I used, or collect and arrange pictures in a table created on a word processor and print the document
3. Cut out each image and attach it to a piece of construction paper to make the paper thicker, or print using cardstock. Cut the picture out.
4. Cut construction paper of various colours into strips to make the headband. Attach more than one strip to make the headband larger if necessary.
5. Laminate each picture and each strip of construction paper. Cut the laminated pieces leaving a small border around the pictures and headbands (this keeps the laminated border sealed)
6. Add small pieces of velcro to the ends of the headband to make the size adjustable
7. Add a small piece of velcro to the back of each picture, and one piece on the middle of the headband. This allows pictures to be attached and removed easily
That's it! A simple reusable game for any subject!


